Getting Ready: Tools and Safety First
Before you start dismantling your loveseat, it is super important to get ready! Being prepared keeps you safe and makes the job go much smoother and faster.
Gathering Your Simple Toolkit
You won't need a huge tool chest, but having the right simple tools ready will help a lot.
Tool Name | What It Looks Like | What It Is Used For |
Flathead Screwdriver | A screwdriver with a single, flat blade. | Lifting levers to unlock the backrest or removing staples. |
Phillips Screwdriver | A screwdriver with a cross-shaped tip. | Removing screws that hold parts like the legs or frame. |
Allen Wrench | A small, L-shaped tool with six sides (a hexagon). | Loosening or tightening hex bolts that attach the arms or frame. |
Adjustable Wrench | A tool used for turning nuts and bolts. | Removing nuts or bolts securing the frame or arms. |
Staple Puller/Pliers | Small tools used for gripping. | Removing staples that hold the fabric (upholstery). |
You should also have things like plastic bags or small containers for organizing screws and bolts, a camera for taking pictures, and a marker and tape for labeling.
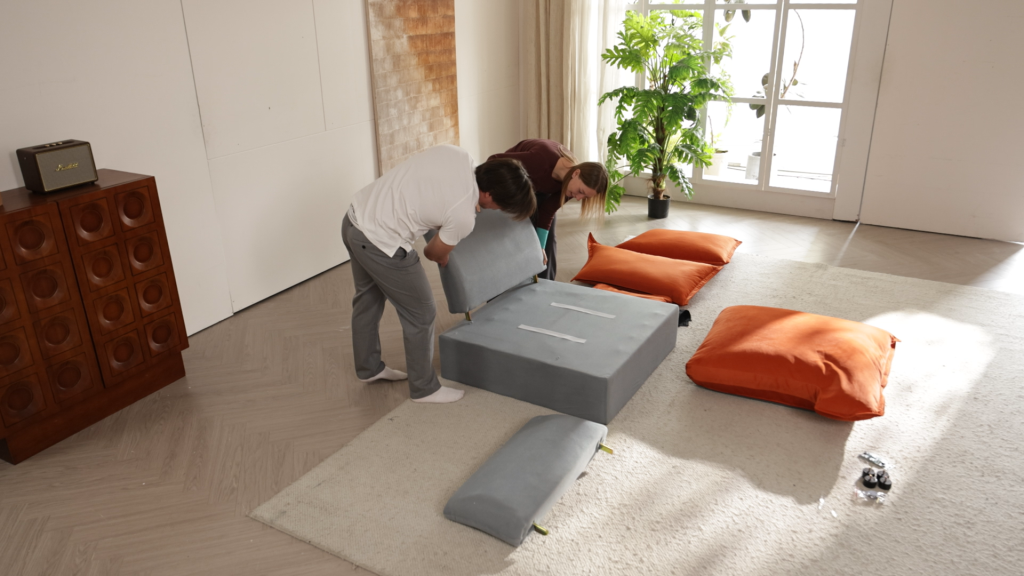
Setting Up a Safe and Tidy Work Area
First, move other furniture, rugs, and anything else out of the way. You need lots of room to walk all around the loveseat. If you are working on a nice floor, put down blankets or a tarp to keep the floor safe from scratches. It is important to work in a well-lit space. If you are working inside the loveseat frame, be careful because there might be sharp edges. Always wear protective gloves and safety glasses to prevent injuries.
The Secret to Putting It Back Together (Photos and Labels)
If you plan to use your loveseat again, keeping track of everything is the biggest secret to success.
Before you touch anything, grab your phone or camera and take lots of pictures of the whole loveseat and all the parts you see. These pictures are like a map that shows you exactly how the loveseat should look when you put it back together.
As you take things apart, put all the small pieces like screws, bolts, nuts, and washers into separate plastic bags. Label each bag so you know where those parts came from, like "bolts for left arm" or "screws from base bar". You should also label the big parts, like writing "left seat back" on the part itself using painter's tape and a marker.